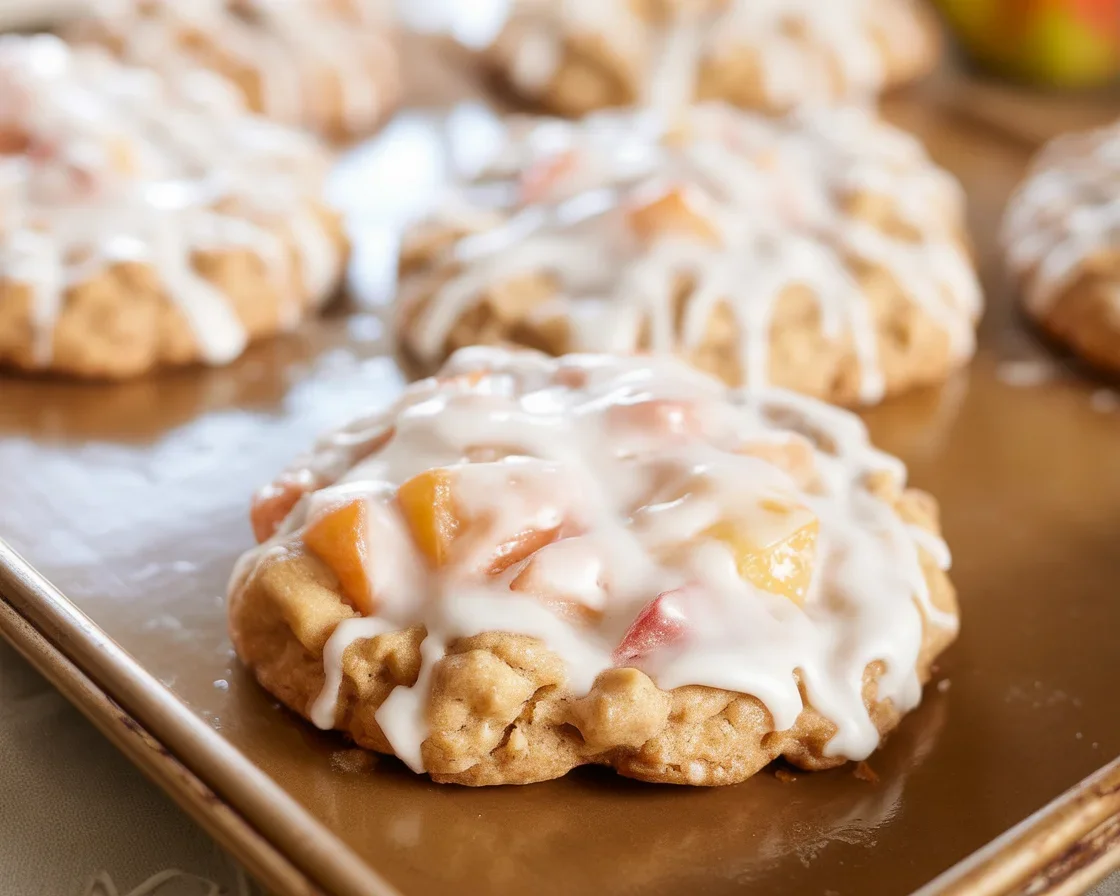
Pan-fried Apple Fritters without Frying sounds a little wild, I know. Trust me though, if you’ve ever craved those cozy apple fritters but worried about the whole kitchen getting covered in oil splatter – I get you. Been there, wore that apron. You want something delicious, not a disaster site in your kitchen. Great news! You can get those beautiful pockets of sweet, cinnamony apples straight from your oven. Yup. Shoo away the fryer, friend.

Tips for Making Baked Apple Fritters
Alright, first off, don’t stress. These are supposed to be laid-back treats, not a fancy-pants cake. Here’s what I’ve learned the hard way – apples go brown crazy fast, so toss your chopped pieces with a tiny bit of lemon juice. Keeps them looking cute. Use firm apples like Granny Smith, they hold up and won’t get all mushy. Oh, and let your dough sit for a bit, maybe five to ten minutes. It seems weird, but the flour gets to relax, which actually helps everything bake up fluffier. If you mess up measuring the brown sugar, no one will know but you (seriously). That’s the beauty of fritters.
Don’t overcrowd the pan. Give them room on the baking sheet or they’ll steam instead of crisp up. Swapping in parchment paper? Total game-changer. Clean up is practically nothing.
Someone once told me to brush melted butter on right out of the oven instead of dunking in oil, and oh man, I’ve never looked back.
“These tasted homemade but in a five-star restaurant way – and I loved not scrubbing up an oil mess! Thanks!” — Jamie R.

Do I Need a Fryer to Make Fritters?
Nope, not at all. You can definitely pull apple fritters together in a regular old oven, which is what I usually do. Honestly, I’ll skip deep frying whenever I can. My kitchen is small and I really don’t like that smell lingering for hours. Baking works just fine, and I’d argue you actually taste more of the apple and the sticky glaze this way. It’s also safer with curious kids or pets running around. For the record, I haven’t owned a fryer since 2012 and I do not miss it. Old bathtubs make fewer messes than a deep fryer, promise.
Mix up your batter, plop it down on a lined baking tray, stick them in the oven, and let the heat do its thing. The texture’s a bit lighter but, wow, just as satisfying.

Can I Bake Fruit Fritters?
Absolutely, and honestly, I think it’s the easiest way. Baked fruit fritters almost make themselves. I mean it. You skip the drama of splattering grease or standing guard at the stove. Plus, the flavors really come out – the apples turn almost caramelized inside the dough. I’ve tried this with pears and even berries (strawberries get messy, just a heads up). The oven sort of roasts everything a little so the flavor is way more intense than you’d expect. Not as sticky as the fried ones, but you can always make a quick glaze for drizzling – or just go wild with some honey. Surprisingly awesome with a pinch of sea salt on top too. If you’re skeptical, try it once. Bet you’ll be hooked.
Can I Air Fry Apple Fritters?
Yes, you can, and if you’ve got an air fryer, you might not ever look back. I was late to the air fryer game, thinking it was a one-trick pony, but fritters changed my mind. The air fryer cooks them fast and keeps the outsides golden without drowning the inside in oil. Flip ’em halfway for a nice crunch on both sides. Don’t make the fritters too big, though, or they’ll stay doughy inside. Smaller fritters, crispier, and faster. It’s a win-win. And get this – my nephew thought I’d secretly fried them in oil because they got that golden finish he likes. High praise from a nine-year-old picky eater, in my book.
Variations
Feeling adventurous? There are a bunch of ways to shake up baked apple fritters and keep the excitement alive:
- Spice swap: Add nutmeg or ginger for extra warmth. Makes the kitchen smell festive.
- Mix-ins: Throw in raisins or chopped walnuts if you want more texture.
- Flour twist: Try half whole-wheat flour for some hearty flavor, but don’t go full health food unless you love earthy vibes.
-
Glaze play: Make a quick glaze with powdered sugar and milk, or go classic with just cinnamon sugar sprinkled right on.
For real, I tried a salted caramel drizzle once and it changed my life. Not even exaggerating.
Common Questions
How long do baked apple fritters stay fresh?
Usually, they’re best on the same day – but you can keep them loosely covered on the counter up to two days. Warm briefly in the microwave to bring the softness back.
Is it okay to prep the batter ahead of time?
You can, although the apples might get a tad mushy if they sit too long. I prefer chopping the apples and mixing everything right before baking.
Should I peel the apples?
Peeling gives a softer fritter, but I’ll be honest, I’ve made lazy batches with the peels on and no one complained. Go with what feels right.
What’s the best way to store leftovers?
Toss them in an airtight container. A quick zap in the microwave (like, 10 seconds tops) brings them back to life.
Can I freeze baked apple fritters?
Sure thing. Let them cool completely first. Wrap tight and freeze. Reheat in the oven for best texture.
Your Kitchen Will Thank You
Baked apple fritters are a game-changer when you want cozy, homemade sweets without wrecking your kitchen. You really don’t need any fancy gear – just a pan, your oven (or air fryer), and a good mood. Trust me, if you can chop an apple and stir, you’re halfway there. If you need more inspiration, check out these other takes on Baked Apple Fritters – A Kitchen Addiction or Baked Apple Fritters for some next-level ideas. Go whip up a batch, spill a little flour, and claim your spot as a pro fritter maker – minus the frying mess.

Baked Apple Fritters
Ingredients
Method
- Preheat your oven to 400°F (200°C) and line a baking sheet with parchment paper.
- In a large bowl, combine the flour, baking powder, cinnamon, brown sugar, and granulated sugar.
- In another bowl, whisk together the milk, egg, and vanilla extract.
- Pour the wet ingredients into the dry ingredients and mix until just combined.
- Toss the chopped apples with lemon juice before folding them into the batter.
- Let the batter rest for 5-10 minutes to relax the flour.
- Using a spoon or ice cream scoop, drop spoonfuls of the batter onto the lined baking sheet, leaving space between each fritter.
- Bake for about 20 minutes, or until golden brown on top.
- While the fritters are baking, mix the powdered sugar and milk together to form a glaze.
- Brush or drizzle the glaze over the fritters right after they come out of the oven.